.png)


Create a DIY security camera system that allows for highly customizable detections, triggers, and actions without coding for each scenario.
I have a basic security camera that I don’t use. Solutions like Ring and Blink lack the features I need, and I dislike the idea of live video streaming to the cloud and paying additional monthly fees.
So, as an engineer, I did what I do best: I designed a security camera solution tailored specifically to my own needs. And you can too!
Whether you’re looking to build your own security camera system that notifies you when a UPS delivery arrives, automatically lets your kids in when the camera recognizes their faces, or alerts you when children are unattended in a pool area, this Raspberry Pi security project is for you.
In this step-by-step guide, you’ll learn how to:
- Determine your DIY security camera's goals
- Gather the hardware for your DIY security camera
- Install viam-server to connect your DIY security camera
- Add capabilities to your DIY security camera
- Add triggers for your DIY security camera
- Build a mobile app to monitor your DIY security camera
- Plan to enhance your DIY security camera
Now, let’s get building!
Step 1: Determine your DIY security camera's goals
Before you begin your build, stop and think, "What would make a security camera useful for me?" And get specific!
Whether it's monitoring package deliveries at your front door, keeping an eye on your backyard, or ensuring 24/7 surveillance of your garage, this clarity will guide your project and ensure that your efforts align with your needs.
If you're unsure how specific to get, check out my list—it's a bit unusual, but here it is:

- Protecting our ducks: We have egg-laying backyard ducks that have been attacked by bears and foxes at night. I’d like to set up a camera specifically aimed at their coop to detect and alert me when any wildlife comes within a certain distance.
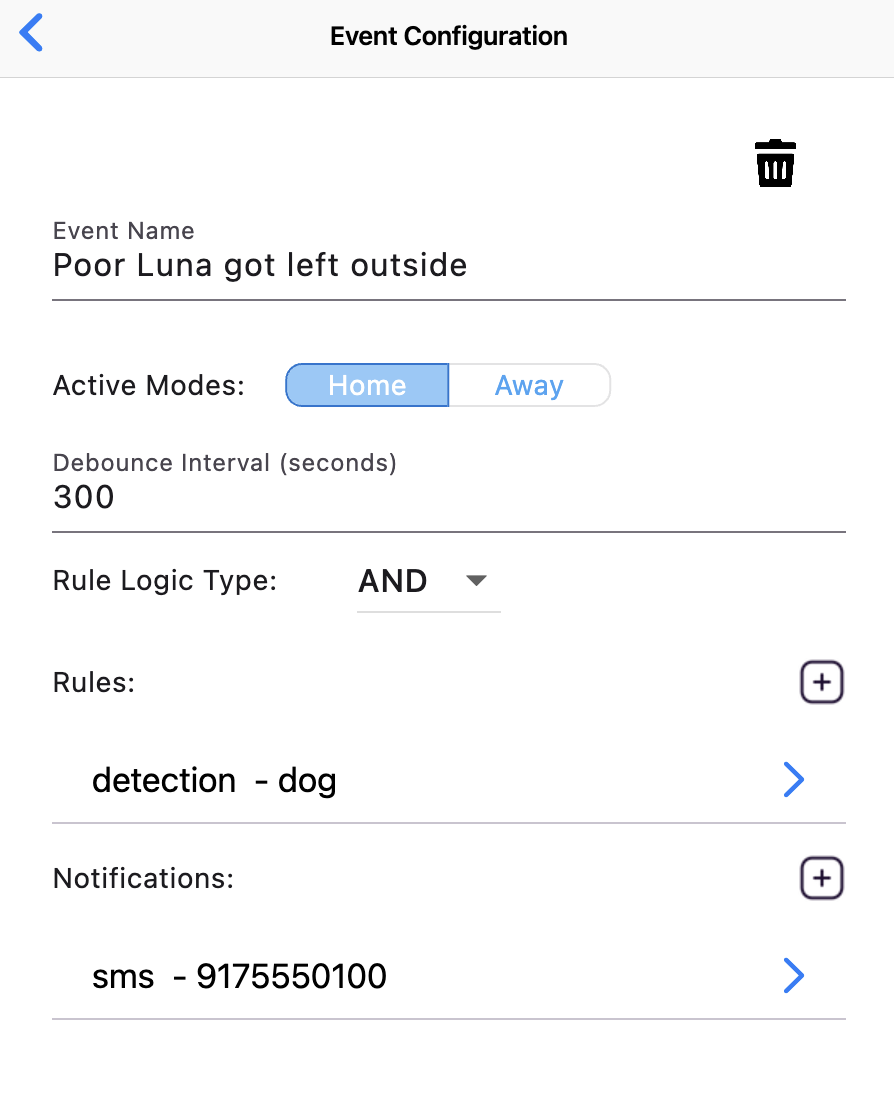
- Monitoring our dog Luna: Our dog, Luna, is a “southern girl” hailing from Tennessee and, after 5 years, still dislikes being outside in the cold northern winters. I’d love a camera by the back door that alerts us when Luna is waiting to come inside before she gets too cold.
- Detering Boo, the neighbor’s cat: Our neighbor’s big, bad Maine Coon cat, Boo, loves to come to our porch to taunt our indoor cat, saying “A pity you can’t be out in the glory of nature with me,” by staring through the glass. If a camera could detect Boo’s presence on our porch and trigger a deterrent, like a sound or light, to scare him away, that would be nice.
You're unlikely to have the same security camera needs as I do, but I'd bet your list isn't fully covered by standard motion and person detection features on today's cameras
Step 2: Gather the hardware for your DIY security project
For this project, you’ll need:
- Any computer that can run viam-server
- Any camera that can run on viam-server
- Raspberry Pi
- Mobile device (not a requirement)
Choose the right camera type
When selecting a camera, make sure it has specific features that ensure it operates correctly in different environments. Select a security camera that’s waterproof, has night vision, and has a two-way speaker system.
For this tutorial, we’ll be using an inexpensive RTSP IP camera.

Choose the best Raspberry Pi for your security camera
For this project, we’ll be using a Raspberry Pi 5.
Our team found it has twice the performance of a Raspberry Pi 4, making it the perfect choice for a project featuring object detection and object recognition.

Step 3: Install viam-server to connect your DIY security camera
To start setting up your project:
- Install viam-server on the computer of your choice.
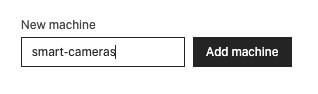
- Head over to the Viam App, name your new machine (whatever you’d like), and add a new machine instance. For this build, I called mine “smart-cameras."
Step 4: Add capabilities to your DIY security camera
Capabilities fall into two categories:
- Those that are core to the project (like the camera).
- Those that are contextual to our use cases (like the specific ML models you want to use).
These can be added to or changed over time without writing new code.
Add the camera to your Raspberry Pi security project
One camera is essential to the project, but we could add any number of cameras.
If you are using a webcam, like the one on your laptop, this is as simple as:
- Choosing the model ‘webcam.’
- Selecting the camera from the component dropdown.
- Saving your configuration.
If you are using another type of camera, configuration is the same process, though you would choose a different model and might need to add some other attributes.
I configured my RTSP camera using these instructions found in our documentation.

Add machine learning (ML) models to your Raspberry Pi security project
Deploy your own ML model to your Raspberry Pi security project
With Viam, you can easily upload your custom ML models to the Viam Registry for use on your smart devices. Our platform supports TensorFlow Lite, TensorFlow, PyTorch, and ONNX frameworks.
To upload your model, simply follow these step-by-step instructions.
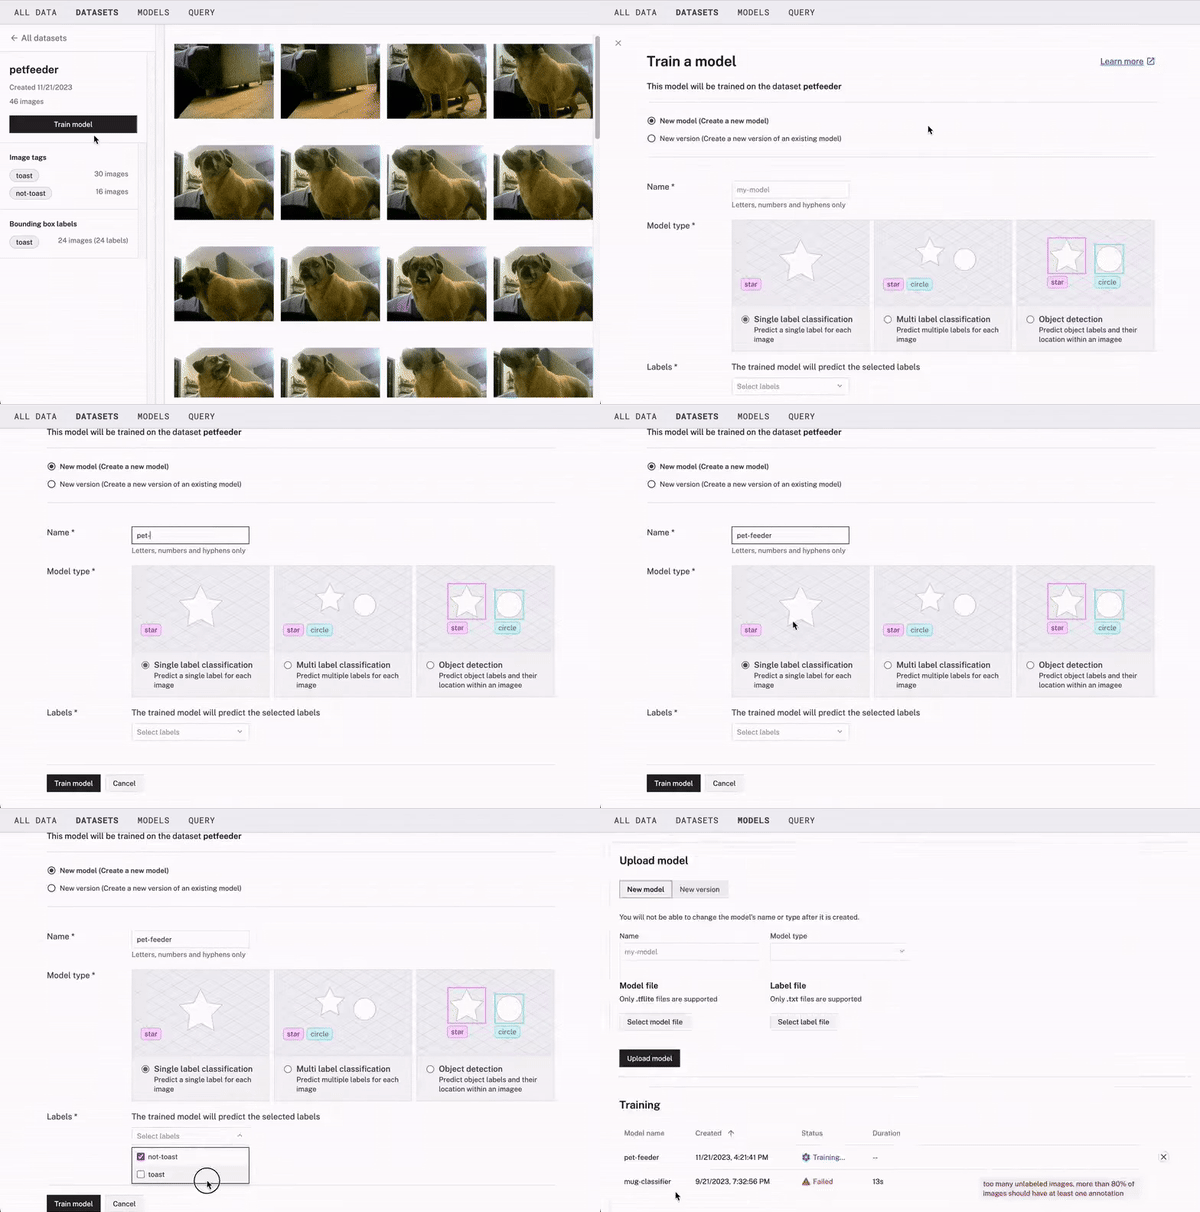
Train your own ML model
You can also use Viam to train your own custom ML model on images captured by your smart machine. Our platform allows for the training of Single Label Classification Models, Multi-Label Classification Models, or Object Detection Models.
To train your own ML model, follow these step-by-step instructions.
Use a pre-trained ML model for your Raspberry Pi security project
For my project’s purposes — detecting wildlife and pets around my premises — I decided to use some pre-trained ML models to work alongside Viam’s computer vision service.
Just as you’re able to import your own ML models into our app, you’re also able to add others from other repositories, like HuggingFace, Model Zoo, or Kaggle.
To upload your model, simply follow these step-by-step instructions.
With that, I was able to add models for:
- A Mobilenet wildlife detector that is trained on hundreds of thousands of wild animal images. As there are many types of wild animals where I live, this model should cover them all.
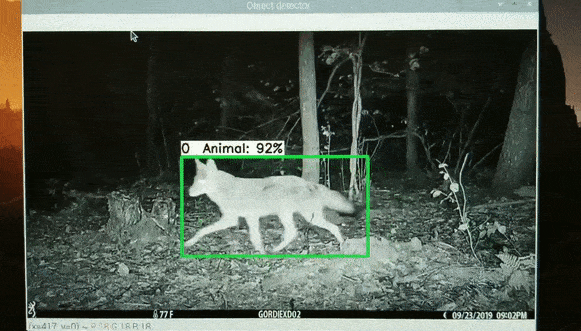
- An Efficientnet detector that has been trained on the popular COCO dataset. I’ll use the “dog” label to detect when my dog, Luna, is waiting outside my back door and the “cat” label to detect when my neighbor’s cat, Boo, is on my porch.
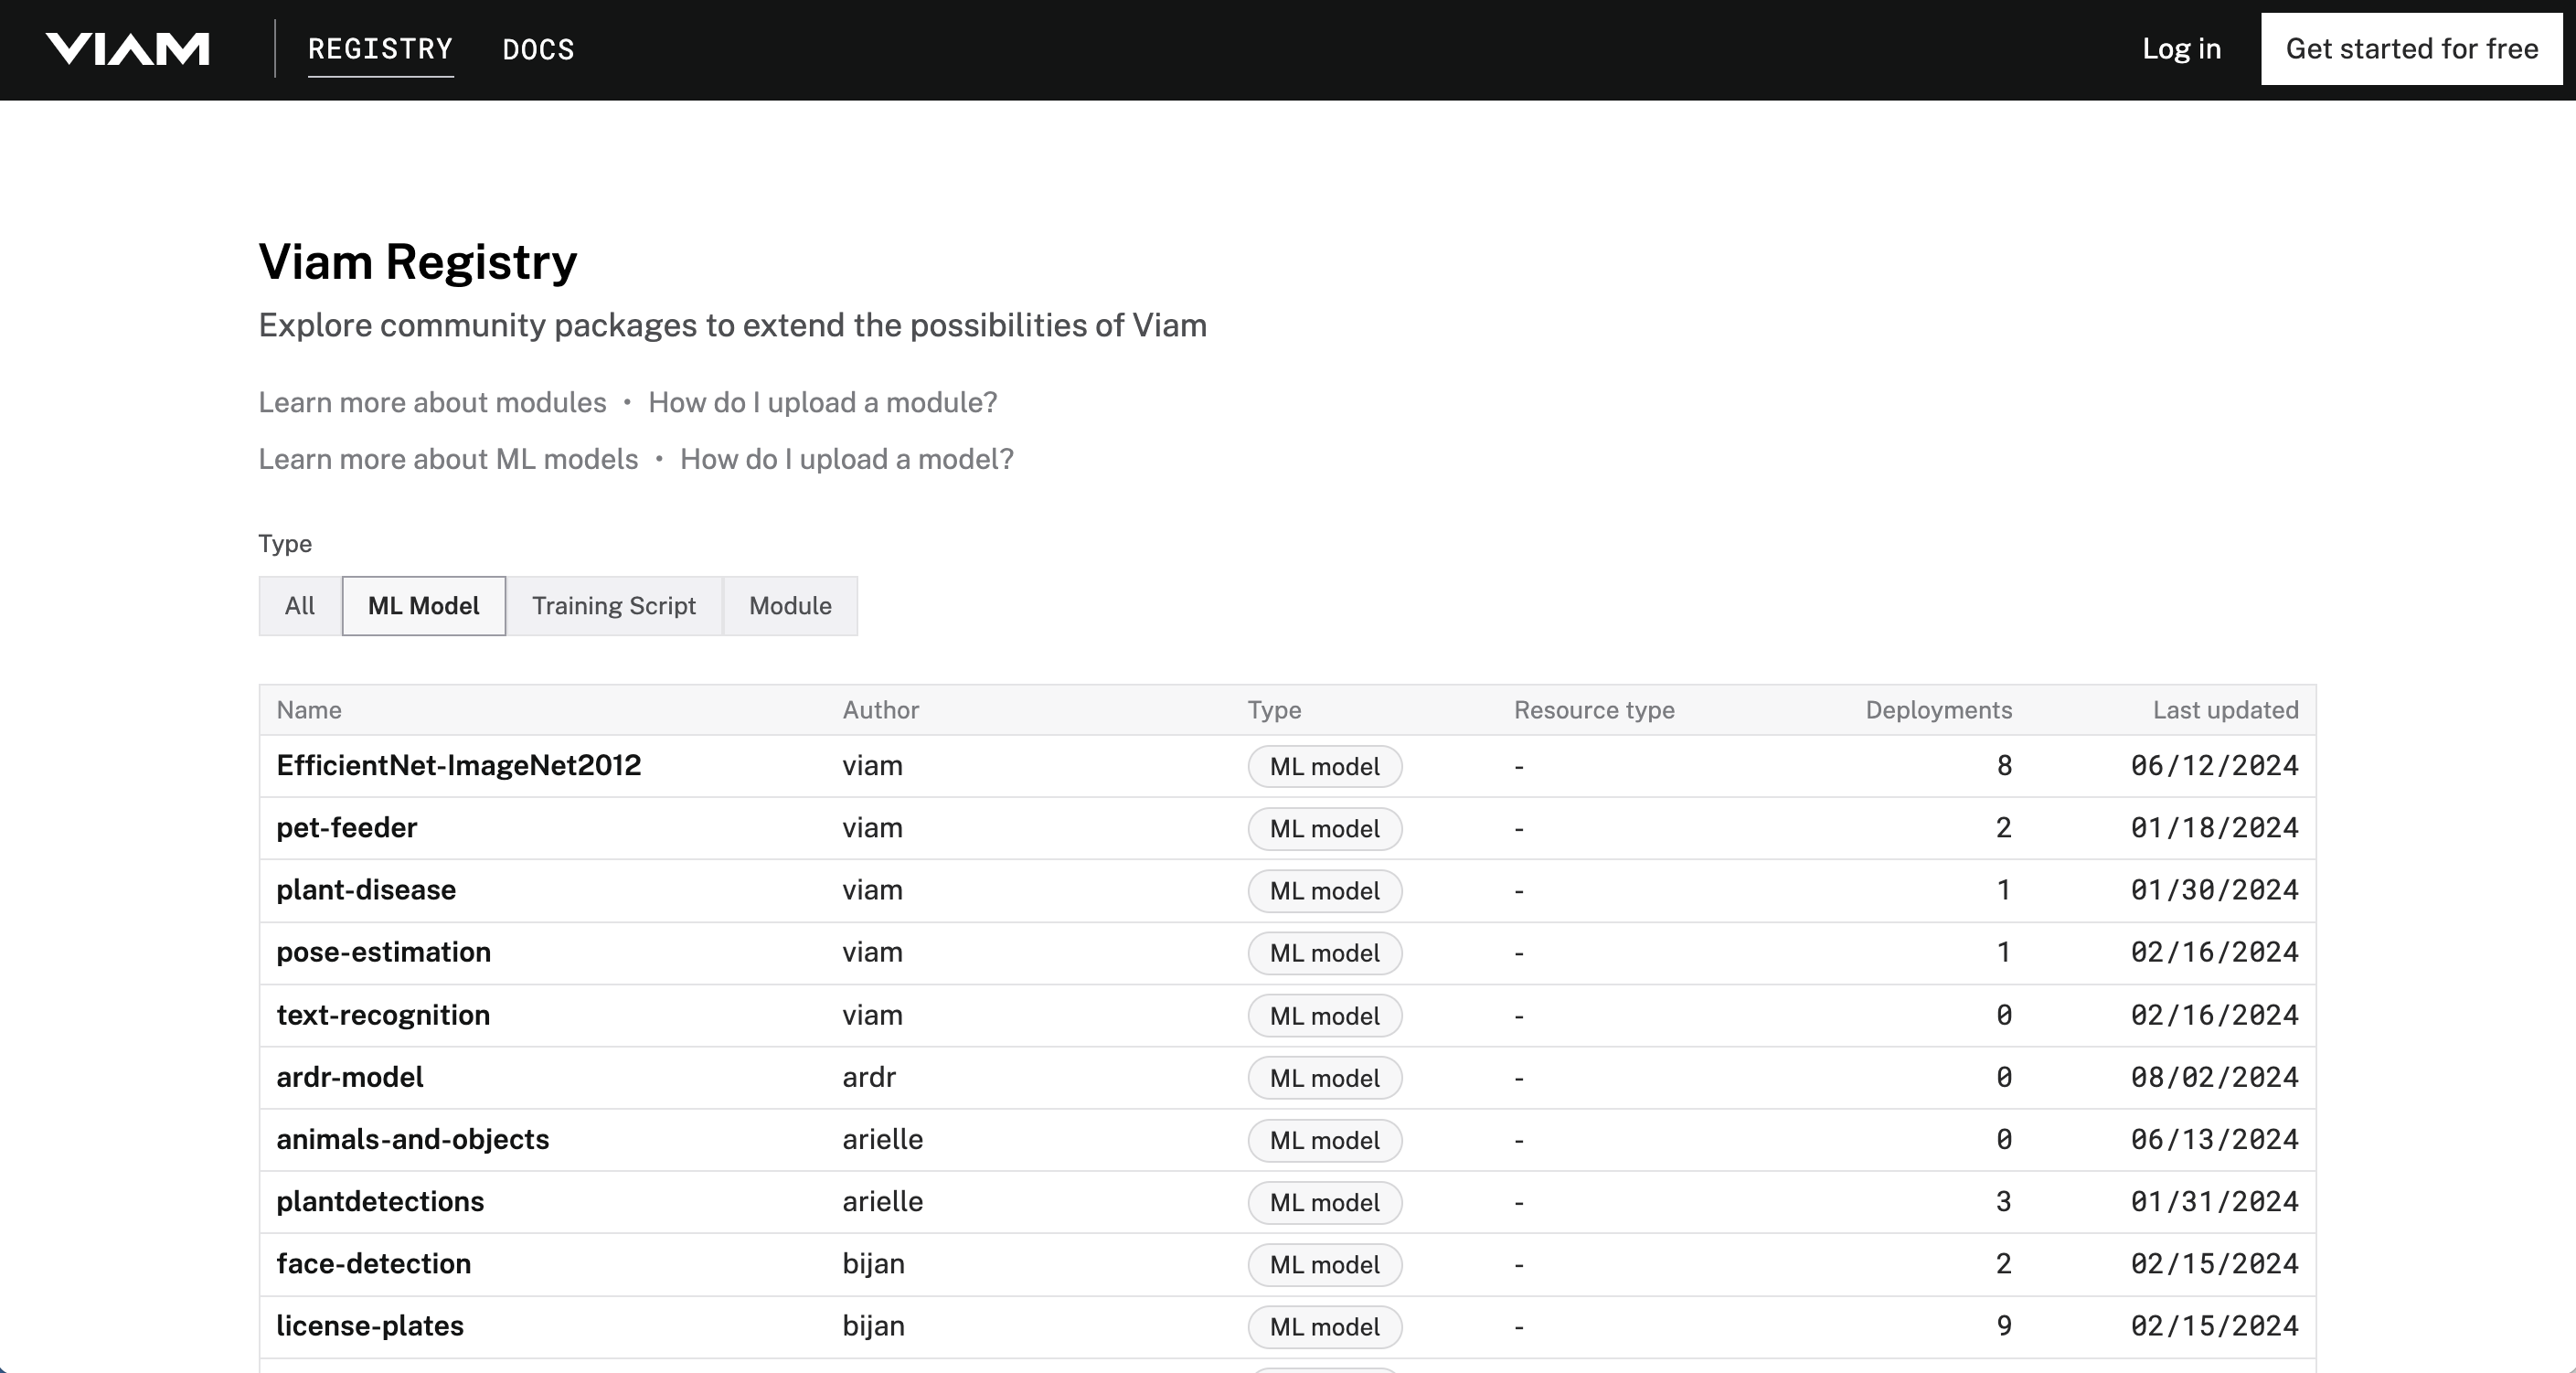
Both of these models (and more, including YOLO models) can be found on the Viam Registry, a community-contributed repository of modules, and can be configured on your DIY security camera system in just a few clicks.