

.png)
What you'll build
A live motion detection feed powered by a webcam and the Viam motion-detector module. You'll see bounding boxes appear around anything that moves in the camera's field of view, with a confidence percentage showing how much of the frame is in motion.
What you'll need
- A machine running viam-server with a USB webcam or built-in camera attached
- A free Viam account
If your machine isn't set up yet, follow the Viam setup guide to get viam-server installed and your machine showing as Live in the app.
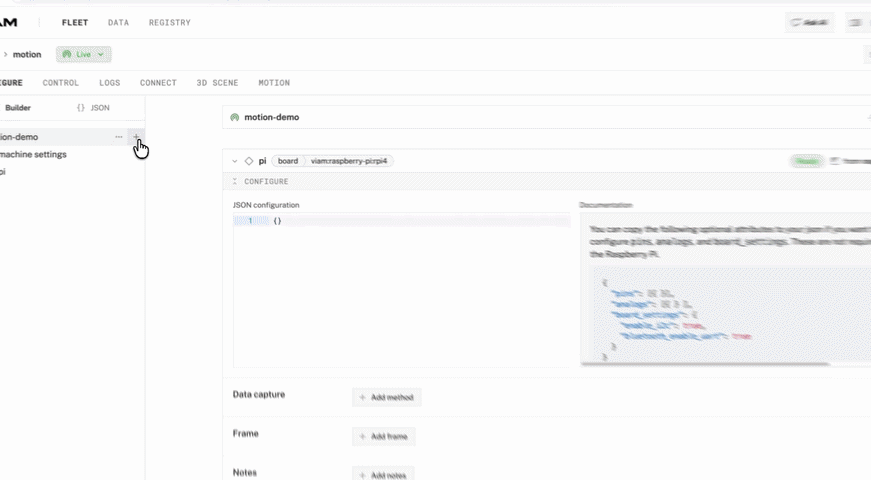
Before you begin: Add a camera
The motion-detector module needs a camera to watch. If you haven't configured one yet, add a webcam to your machine first:
- In your machine's CONFIGURE tab, click + and select Configuration block.
- Search for webcam and select the webcam component (built into RDK — no extra module required).
- Give it a name (e.g., webcam) and click Add component.
- Click Save. Click the TEST tab to confirm you're getting a live feed before continuing.
Note the name you gave your camera — you'll need it in Step 2.
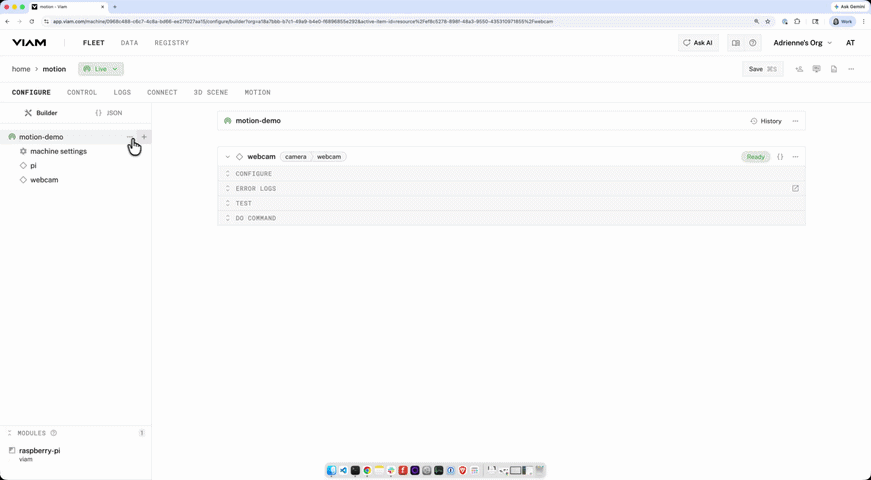
Step 1: Add the motion-detector module from the Viam Registry
With your camera live, it’s time to add the motion detection module to the machine.
- Click + and select Configuration block.
- In the Registry search bar, type motion. Select motion-detector/motion-detector (the vision service listed as type VISION, authored by viam).
- Give your service a name (e.g., motion-detection-service) and click Add component. The supporting module installs automatically.
- Click Save.
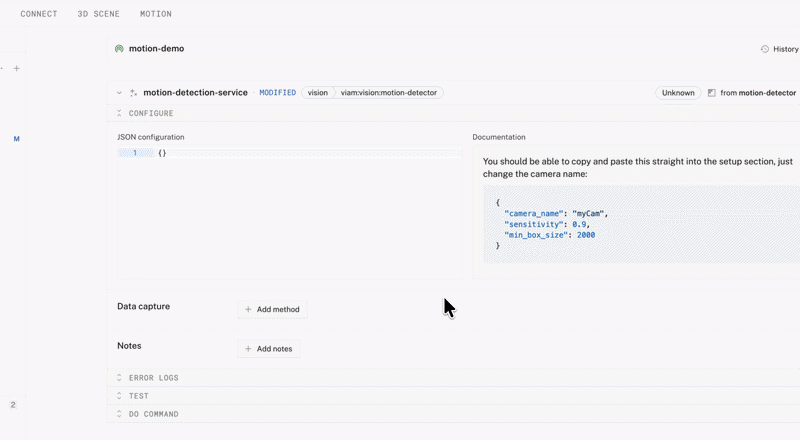
Step 2: Configure the module
After adding the service, you'll land on its configuration panel. Fill in the JSON attributes:
{
  "camera_name": "webcam",
  "sensitivity": 0.9,
  "min_box_size": 2000
}- camera_name: (required) the name of the camera component you configured earlier (e.g., webcam).
- sensitivity: (optional) a value from 0 to 1. Higher values make the detector more sensitive to subtle movement. 0.9 is a good starting point.
- min_box_size: (optional) the minimum size (in square pixels) of a bounding box to report. Filters out tiny, insignificant movements. 2000 works well for most setups.
Click Save.
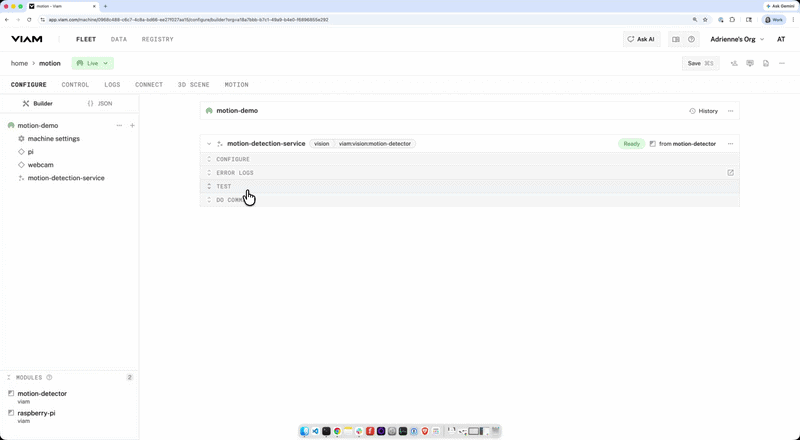
Step 3: Start detecting motion
Navigate to the CONTROL tab and find your motion-detection-service. Expand the TEST section.
- Set Camera to your webcam.
- Set the dropdown under Detections/Classifications to Live.
Move something in front of the camera. A red bounding box will appear around the moving area, labeled motion.
What's next?
- Trigger alerts — use Event Manager to send a notification whenever motion is detected.
- Capture data — use Viam's data management to log detections or save images when motion occurs.
- Build a security camera — combine motion detection with data capture and triggers to build a full home monitoring system.
Start building at app.viam.com.
