

Build an intelligent cube-sorting robot entirely on Viam, which can detect colored cubes and place them into corresponding bowls using computer vision and motion planning. This tutorial walks you through configuring a uFactory Lite 6 robotic arm with Viam, leveraging pre-built fragments and ML models to get your robot sorting in minutes. You'll also create a custom web app to control your robot from anywhere.
Prerequisites
- Sign up for a free Viam account, and then sign in to Viam
- Basic familiarity with SSH and command line operations
- Sturdy and flat workspace, minimum of 3’ x 6’ (95cm x 183cm)
Hardware and supplies requirements
- 1 - Assembled uFactory Lite 6 arm, mounted securely on a surface. This requires a wired ethernet connection to communicate with the control box over the local network.
- 1 - Mounted uFactory Vacuum Gripper for Lite 6
- 1 - Intel RealSense camera (we're using model 435)
- 1 - Linux-based device (here, we used a Nvidia Jetson Orin Nano with Jetpack 6 or higher), set up so you can SSH into it, with a microSD card, and power supply
- Some 1”/30cm cubes (we used some from Yahboom)
- 4 - bowls (we’ll set these at explicit locations to accept our sorted cubes)
Configure Viam Machine
1. In Viam, under the LOCATIONS tab, create a machine by typing in a name like “cube-sorter”, then click Add machine.
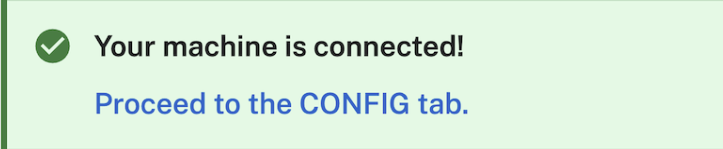
2. With a machine added, follow the setup instructions until your machine is successfully connected and live.
Configure components
Cube-sorter fragment
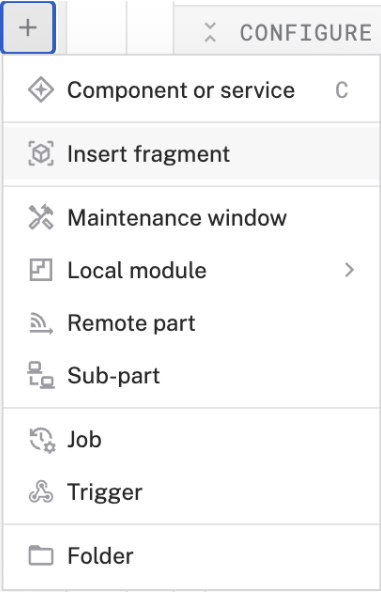
1. We can quickly configure the components needed for a cube sorter using a fragment. Fragments are shareable configurations for one or more resources that can be used across multiple machines. On the left-hand navigation, click the +, then click Insert fragment.
2. In the search input, begin to type “cube”. The fragment “cube-sorter” will appear. Click on it; then click Insert fragment. This adds the fragment to your machine. To configure it with your components, click on Add variables. This will open an editor where you’ll add some JSON attributes:
3. Add a JSON key for “arm-ip-address”. Then add your lite 6 arm’s IP address like so:
{
"arm-ip-address": "100.100.0.100"
}
4. You’ll notice that all required components and services have been included in your robot. Based on the cube-sorter fragment, the viam-agent you installed in step 2 will download the hardware controllers, ML models, and other software required for the cube-sorter application, include each required component in your machine, and configure them for this use case. These include: a vacuum gripper, an ML Model service, and a cube detection vision service (among other components). Click Save.
5. You can now experiment with your components.
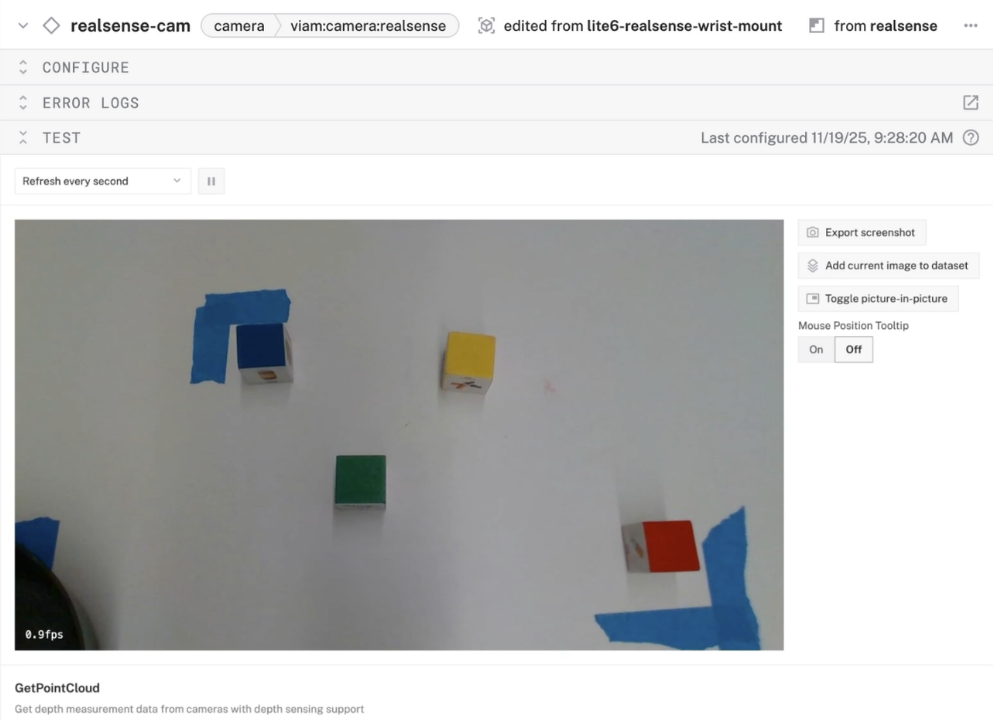
- Test your camera feed. Open the TEST section of your realsense-cam component. Here, you should see the feed from your camera:
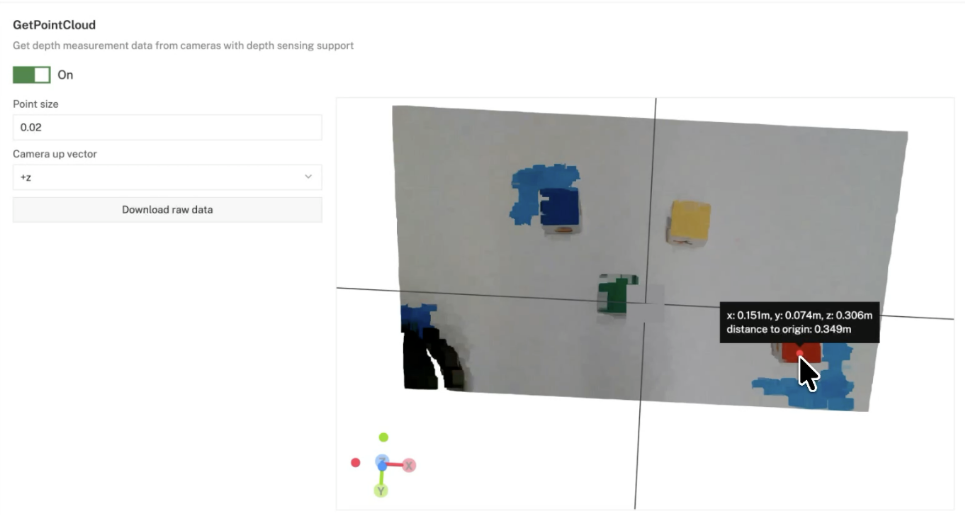
- Test your camera’s point cloud feed. In the same TEST panel, toggle the GetPointCloud option. This will show a point cloud representation of the camera’s feed, including perceived depth measurements (note that these might be inaccurate until you perform the arm’s calibration steps).
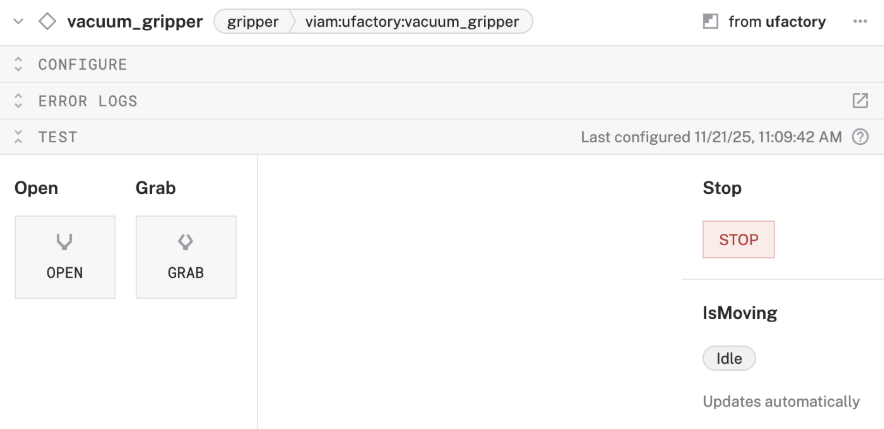
- Test your gripper. Open the TEST panel for the vacuum gripper. Here you’ll see controls to Open or Grab with your gripper.
Poses
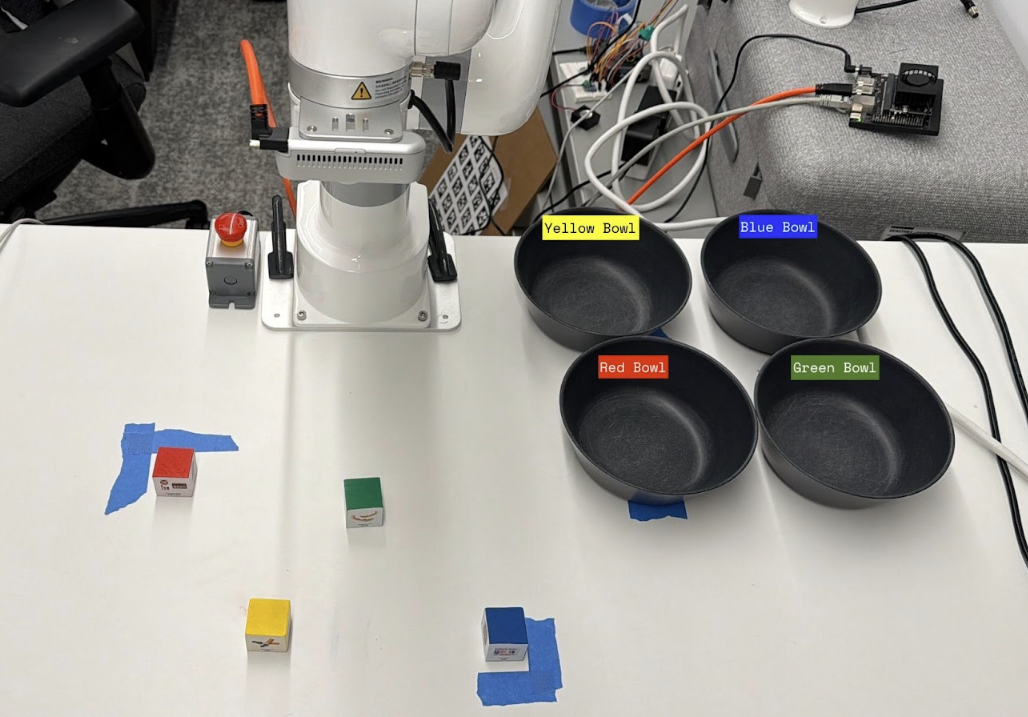
1. In your workspace, set your bowls to the indicated positions. These are where the cube sorter will drop the detected cubes (e.g. a detected yellow cube will be dropped into the yellow bowl):
2. You’ll notice that the blue, red, and green bowls have corresponding “poses” outlined in the added fragment. We’ll need to add the last one, the yellow bowl’s pose, to finish the configuration. When working with arms, using pre-defined poses where possible is a best practice.
3. To give you some experience creating a pose, let’s create one for the yellow bowl. First, search for “erh:vmodutils:arm-position-saver” and add another arm-position-saver to your poses; name it “yellow-bin-pose”.
4. In the yellow-bin-pose’s JSON configuration, add the following:
{
"joints": [ ],
"arm": "lite6-arm",
"motion": ""
}
5. Click Save. To get the joints position array, you’ll have to move your arm to a desired pose, then grab its joint positions in radians. The arm’s testing panel or your machine’s Control panel helps you easily do this. We’ll walk you through using the Control tab.
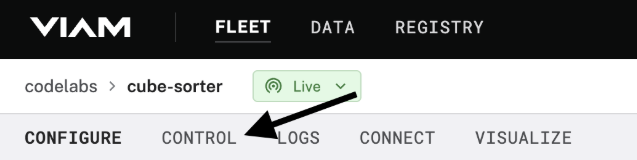
- Click on the CONTROL tab. This brings you to a streamlined area where you can directly access the testing panels of your machine’s resources.
- Click on your lite6-arm component. You’ll be brought to the arm’s testing panel. Here, you can move your arm by manipulating specific joints, quickly moving via 5 degree increments, or by entering a specific pose value. Move your arm so that its gripper is positioned neatly and centrally above the yellow bowl.
- Once in a desired pose, click the icon to switch the MoveToJointPositions panel to radians.
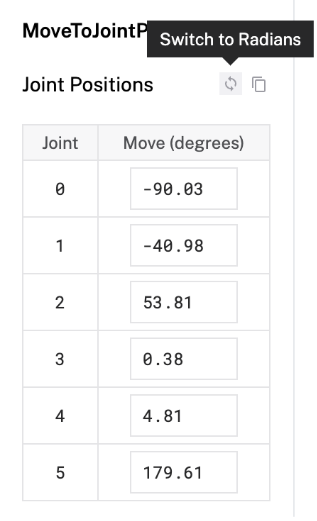
- With the values now in radians, click the copy icon to quickly grab the values.

- Navigate back to your yellow-bin-pose configuration; first click CONFIGURE, then click on yellow-bin-pose. Finally, paste your copied joints position into the joints array:
6. With explicit locations set for the sorting bowls, the cube sorter will automatically sort the colored cubes into the corresponding bowls.
Cube-Sorter module
The cube-sorter fragment you’ve added to your machine also comes with the code that detects cubes and sorts them based on color. We’ve added it as a custom module, which is available in the Viam Registry.. There are several reasons why you might write a module to extend Viam’s built-in functionality. In this case, we’ve written a module to implement the control logic for our cube sorter. Another common use case is writing a controller for a new type of hardware. See the docs for more information on writing your own module!
Control your arm via a Viam app
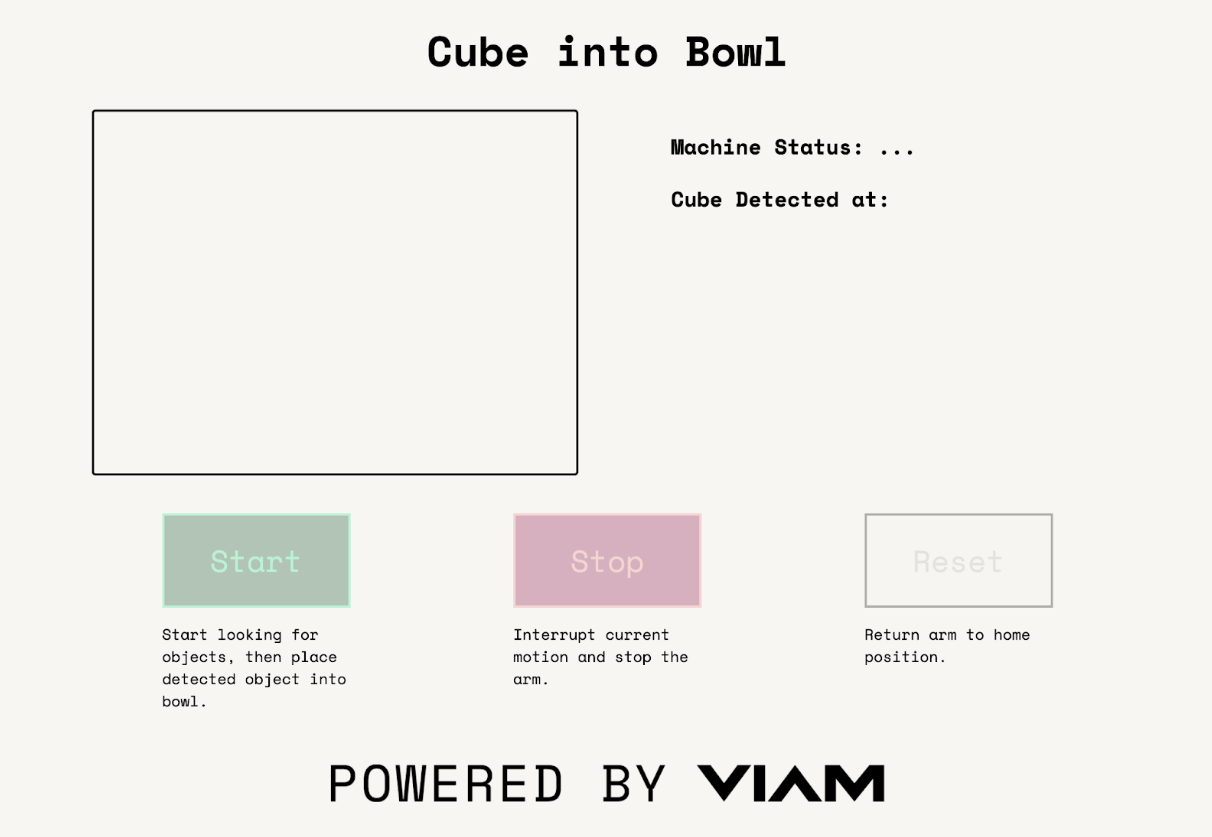
To control the arm, we’ve created a simple webapp using Viam’s TypeScript SDK. This SDK gives us an implementation of the standard component and services APIs we can use to control our robot. You’ll see that we’ve create a few simple buttons to start and stop the cube sorter, a canvas to view what our vision service is seeing, and a few informational labels that can pull the machine connection status and the coordinates of a detected cube.
The TypeScript app is already a great way to control our robot through a web-based frontend. However, we wanted to let Viam handle the hosting and authentication of our app. We also wanted it to be easy to share with others (both in the DevRel organization and with external folks), so we made it a Viam app,
We can keep the TypeScript app we’ve already written, we only need to package and deploy it so that Viam can host it and handle the credentials for us.
You've now built a fully functional cube-sorting robot that combines computer vision, motion planning, and remote control capabilities. This project demonstrates how Viam's modular platform makes it easy to integrate hardware, ML models, and custom control interfaces without writing low-level robotics code. Try experimenting with different objects, colors, or even adding new sorting logic to expand your robot's capabilities.
